
Create a Trigger Group
To create a Trigger Group:
-
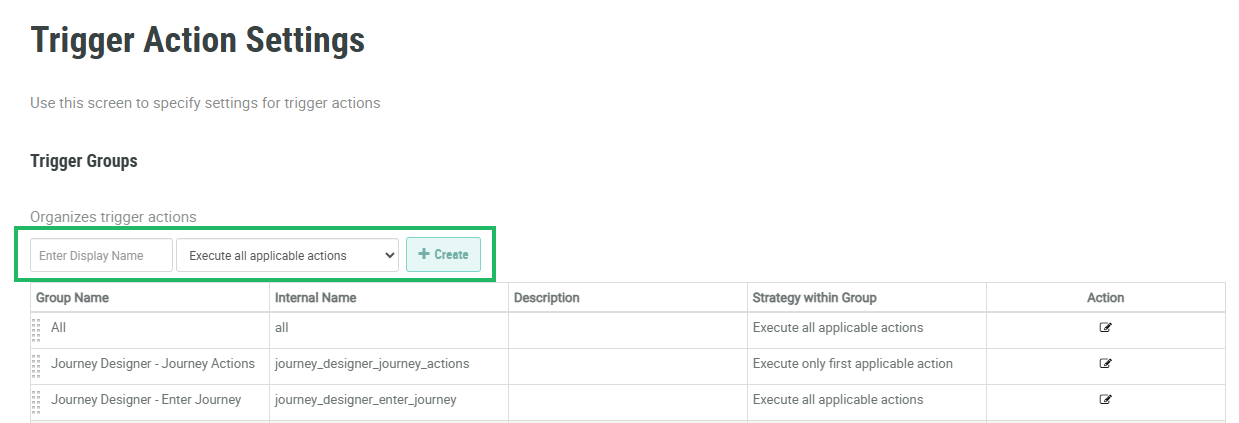
Select Rules from the top navigation bar, then select Settings > Trigger Action Settings from the side navigation menu. The Trigger Action Settings screen is displayed.
-
In the Display Name field, enter a name for the new Trigger Group.
-
From the Strategy drop-down menu, select a Trigger Group strategy:
-
Execute only first applicable rule: Once a Triggered Action in this Trigger Group is executed, all other Triggered Actions are skipped.
-
Execute all applicable rules: All Triggered Actions in this Trigger Group are executed.
-
-
Click Create. The Trigger Group pop-up window is displayed.
-
The Display Name field is populated with the value you entered above; optionally edit this value.
-
The Internal Name is automatically populated based on the Display Name value. This field is not editable by default. To edit the Internal Name, check Edit Internal Name. A confirmation dialog box is displayed; click Ok. Edit the Internal Name value.
-
Optionally, in the Description field, enter a description of this item.
-
The Trigger Group strategy you selected above is automatically populated in the Strategy drop-down menu; optionally select a different strategy.
-
Click Save.
By default, the new Trigger Group is added to the very bottom of the Trigger Action Settings screen. See Rearrange Trigger Groups for more details on how to move the Trigger Group.
